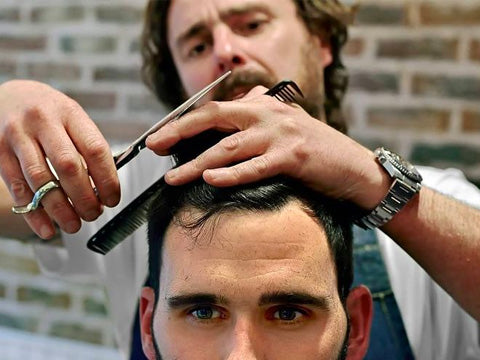
Hairstylists and barbers understand there’s a lot that goes into the perfect haircut. There’s the length, shape, and style. However, the most important factor is how the client feels and looks when all is said and done. If they aren’t happy, then you’ve failed your mission.
Fortunately, there are tools that make your job easier, and the one we’re focusing on in this article is thinning scissors. We’ll briefly go over what thinning scissors (or thinning shears) are and when to use them.
Next, we’ll give you a quick guide on how to properly use thinning scissors for the best results. Then we’ll wrap up by sharing a couple of our favourite Hunt & Hustle thinning scissors you can order today.
What Are Thinning Scissors?
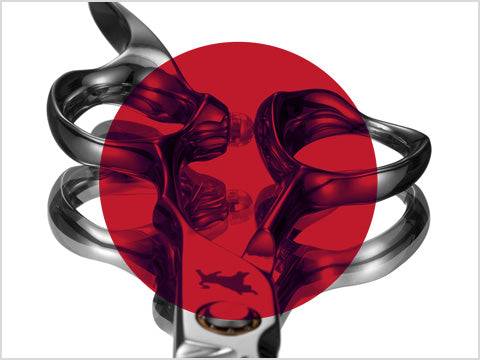
Thinning scissors are specifically designed to reduce the density of hair. Although they look similar to texturizing scissors, you can recognize thinning scissors because they have one side with a smooth side while the other side has teeth. The difference between the two is that the gaps of thinning scissors are smaller– with somewhere around 12 to 16 gaps.
The tiny notches between the teeth are perfect for quickly taking out even sections of hair which can smooth out lines, remove excess weight, and seamlessly blend hair together.
However, they aren’t your main cutting tool but are used to complement work you’ve already done. Think of it as using icing to make your cake look fancy after it’s been baked. Thinning scissors are used to decorate and get the final look just right.
But keep this in mind– thinning scissors will leave a visible cut line that stands out if you aren’t using the right technique. The best way to avoid this is to ensure you’re getting the right angle when cutting or you can get more control by only closing the blades about halfway.
How to Cut Thick Hair with Thinning Scissors
Here’s a brief guide to help you get an idea of the best way to use thinning scissors when working on thick hair:
- First, make sure you remove any tangles and knots by combing through the hair thoroughly.
- Next, you want to section out about 1 inch of hair and place it between your middle and index finger.
- Next, take your scissors and place them 1 inch up from the length of the hair. You also want to make sure they are angled in the same direction the hair grows.
- While making your cut, you want the scissors to feel like a comb moving smoothly through the hair towards the end.
- If your goal is to remove extra weight from the hair, you can start your initial cut an extra inch above the end of the hair.
This is a basic guide you can use to get started but as you mature as a barber, you’ll find more advanced techniques that can take your hair styling to the next level.
Hunt & Hustle Premium Thinning Scissors
Let’s take a look at some of the best thinning scissors we have to offer so you can spend more time Hustling instead of Hunting for the right tool.
The Player Thinner
Want a smooth, snag-free cut? Then this professional thinning scissor is for you. They’re made from premium carbon steel and feature 32 teeth with our unique wave design and Teflon Dampening System. Experience ultimate control with this ergonomic scissor that fits comfortably in your hand. If you want to take your hairstyling and barber craftsmanship to the next level, order your pair of The Player Thinner today.

The Player Thinner Ergo
The Player Thinner Ergo (or “The Ergo” for short) is our evolution of The Player Thinner. It still features superior carbon steel but only 26 teeth plus a convex blade. It’s extremely comfortable with perfectly shaped finger holes that can easily cut 25 to 30% with smooth and seamless cutting motions. Still a clean, snag-free cut– this is the scissor you need to take your Hustle to new heights. Get yours today!
We also offer a wide variety of premium scissors to fit any of your barber needs. Browse our selection to find the perfect hair-cutting tool for you.


